
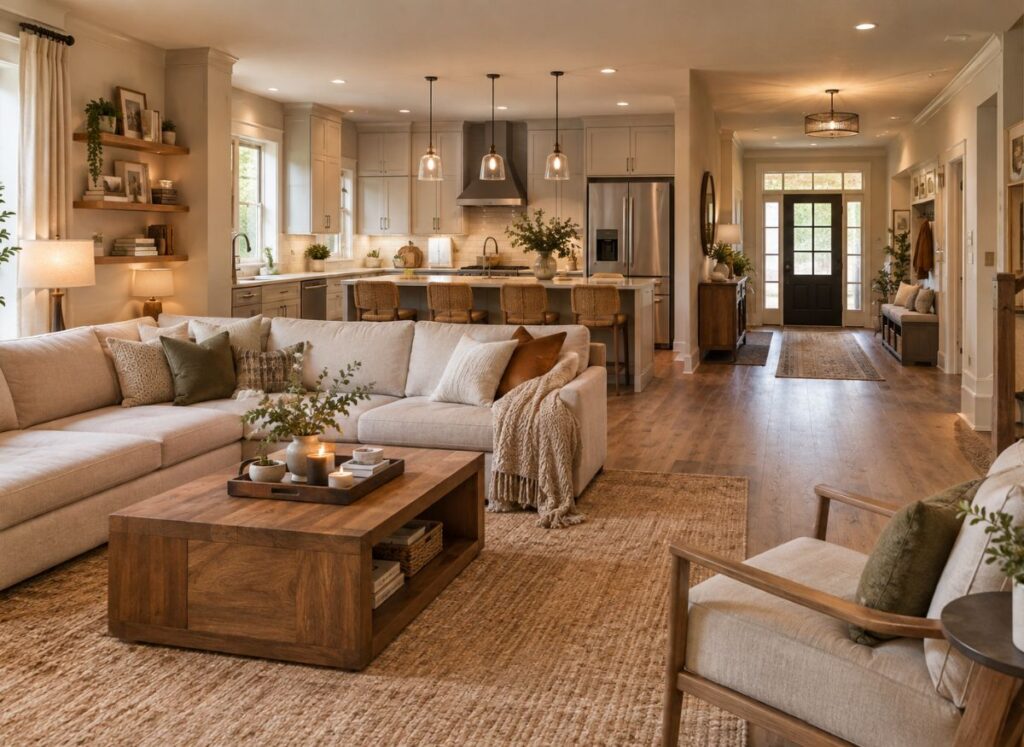
Most renovation regrets begin the same way. A homeowner falls for a tile, a paint color, or a saved photo and starts spending before asking what the house actually needs. New cabinets go into a layout that never worked, fresh paint covers a damp patch, and the money runs out before anyone checks the wiring. A successful home transformation reverses that order: purpose first, problems second, finishes last.
This guide covers the full process, from defining goals and auditing the existing house to budgeting, prioritizing, designing, choosing materials, deciding between DIY and professional work, hiring contractors, and sequencing the work. The aim is a home that balances style, comfort, function, and cost. Two planning tables and answers to common homeowner questions are included.
Start by Defining What Needs to Change
Walk through every room at different times of day and note where daily life meets friction: a kitchen with no counter space beside the stove, a bedroom that overheats in the afternoon, an entryway where coats pile onto a chair. These are function problems, and paint alone will not solve them.
Separate Needs, Wants, and Nice to Haves
Sort every idea into three lists:
- Needs protect safety, health, or basic function, such as a leaking roof or failing water heater.
- Wants improve daily enjoyment, such as a larger kitchen island.
- Nice-to-haves happen only if money remains, such as heated bathroom floors.
Then write a short project brief in lifestyle terms, for example: “a kitchen where two people can cook while the children do homework at the counter.” Collect ten or fifteen inspiration images and look for repeated colors, materials, and moods. That pattern is your real aesthetic preference. A clear brief anchors every later decision and is the foundation of a successful home transformation.
Audit the Home You Already Have
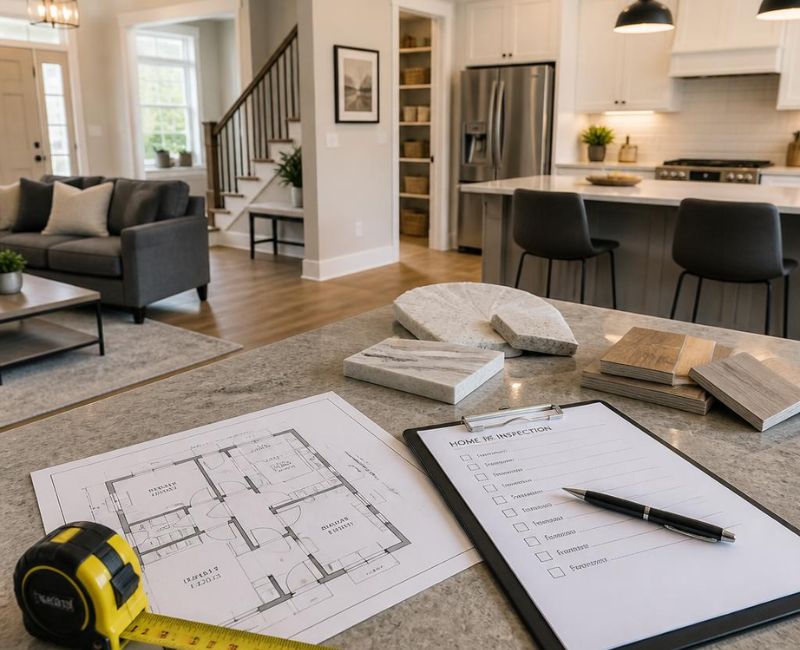
Find hidden problems before decorating begins, because new finishes installed over old defects often get torn out again for Successful Home Transformation. Evaluate:
- Layout and storage: measure rooms, note dead corners, and count the storage you actually use.
- Light: check window orientation and which rooms stay dark.
- Floors and walls: look for squeaks, soft spots, cracks, stains, and moisture.
- Kitchen and bathrooms: test water pressure, ventilation, drainage, and the condition of cabinets.
- Electrical and plumbing: note panel age, outlet shortages, older pipe materials, and slow drains.
- Insulation and energy use: check for drafts, attic insulation, and aging windows or heating and cooling equipment.
- Structure: watch for sagging floors, diagonal cracks, sticking doors, and roof leaks.
In an older house, a professional inspection costs little compared with discovering a defect after the walls are closed. A qualified engineer or inspector should assess anything structural. When planning a larger renovation, it also helps to understand how exterior and interior design work together so that changes to the building envelope, layout, materials, and finishes create a cohesive home.
Build a Budget That Survives Surprises
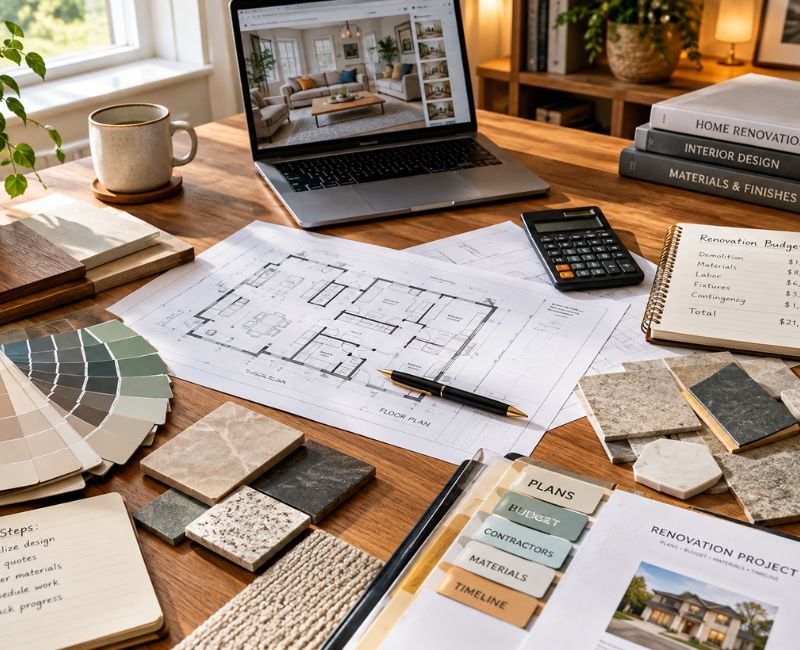
Divide the total into categories: labor, materials, fixtures and appliances, furniture and décor, design or engineering fees, permits and inspections where required, and a contingency reserve. Many renovators hold back roughly 10–20 percent for the unexpected. Older houses or structural work may justify more, so treat that as a rule of thumb rather than a guarantee for Successful Home Transformation.
Avoid putting everything into visible finishes. Wiring, plumbing, insulation, and waterproofing disappear behind walls, yet they decide whether the work lasts. Get itemized quotes before committing, track estimated, quoted, and actual costs in one spreadsheet, and agree in advance who approves changes. A realistic budget keeps a successful home transformation from stalling halfway.
Planning Table: Where Projects Usually Go Wrong
| Planning Area | What to Evaluate | Common Mistake | Better Approach |
| Scope | Rooms, tasks, and the outcome you want | Adding tasks mid-project | Write a scope document and approve changes in writing |
| Layout | Walkways, door swings, clearances, storage | Buying furniture first | Measure, draw a scaled plan, and tape outlines on the floor |
| Utilities | Panel capacity, pipe age, drainage, ventilation | Covering old systems with new finishes | Inspect first and upgrade while walls are open |
| Lighting | Daylight plus ambient, task, and accent needs | One ceiling fixture per room | Plan layers and switches before electrical rough-in |
| Budget | Quotes, allowances, permits, reserve | Spending the reserve on upgrades | Keep contingency for problems only |
| Schedule | Lead times, trade order, drying and curing | Ordering materials late | Order long-lead items early and add buffer |
Rank Projects by Urgency, Not Excitement
Work in this order: safety, structure and the building envelope (roof, walls, foundation, windows), essential systems, daily function, comfort and energy efficiency, and finally appearance.
Cosmetic upgrades should wait when serious problems exist. New flooring laid before a roof is repaired or wiring is upgraded is likely to be damaged or removed. If funds are limited, phase the work: fix the infrastructure first, then finish one room properly rather than half-finishing five. Ranking projects this way keeps a successful home transformation on track even when money is tight.
Design for Style and Everyday Function

Furniture scale and flow. Measure before buying. An oversized sofa can ruin circulation, and a common guideline is to keep main walkways around 90 cm (36 inches) wide. Tape furniture outlines on the floor to test flow, door swings, and clearances.
Layered lighting. Combine ambient (overhead), task (under-cabinet, reading lamps), and accent lighting, and place switches and dimmers according to how each room is used. Lighter window treatments and reflective surfaces help natural light travel further.
Cohesion and storage. Choose a restrained palette, repeat two or three materials through the house, and add texture such as wood, linen, or stone so neutral rooms do not feel flat. Treat storage as part of the design: hooks and a bench at the entry, deep kitchen drawers, built-ins in awkward alcoves. Designing around routines rather than photographs is how a successful home transformation ends up both attractive and practical. For additional inspiration, explore these modern home ideas to see how contemporary colors, lighting, furniture, and natural materials can create a stylish yet functional living space.
Choose Materials for Long-Term Performance
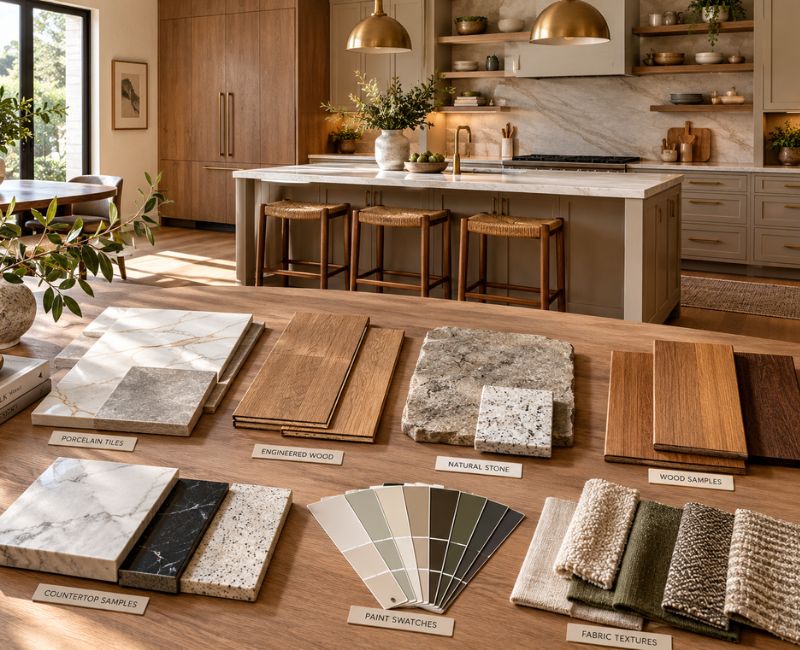
Judge every material on durability, maintenance, cost, appearance, moisture resistance, daily wear, lifespan, and environmental impact, not on how luxurious it looks in a showroom. Hallway floors take constant abuse, bathrooms need moisture-resistant surfaces and proper waterproofing, and kitchen countertops must tolerate heat, stains, and knives. For renovation projects, choosing the right wall and ceiling systems can also improve durability, visual appeal, and the overall character of each room.
Natural stone and unfinished wood are beautiful but often need sealing and upkeep. Porcelain tile or quality engineered flooring may suit a busy household better. Request samples, read care instructions and warranties, and compare lifetime cost rather than purchase price. Spend more on what you touch daily or cannot easily replace, and save on items that are simple to swap later. Low-emission paints and responsibly sourced timber are worth asking about.
DIY or Professional? Where to Draw the Line
Base the decision on skill, safety risk, tools, building regulations, available time, and the cost of getting it wrong. A mistake in a paint job costs a weekend, while a mistake in wiring or a load-bearing wall can cost far more. Knowing your limits is part of every successful home transformation.
| Project Type | DIY Potential | Professional Help | Main Risk/Consideration |
| Interior painting | High | Optional | Prep quality decides the result; older paint may contain lead |
| Click-lock flooring | Moderate–high | Optional | Subfloor flatness and moisture |
| Tiling | Moderate | Advisable in wet areas | Waterproofing failures hide damage |
| Cabinet installation | Moderate | Common for full kitchens | Leveling and plumbing connections |
| Electrical work | Low | Licensed electrician for circuits and panels | Fire and shock risk; licensing rules vary |
| Plumbing | Low | Licensed plumber for supply, drain, and gas lines | Leaks and code compliance |
| Structural changes | Very low | Engineer plus qualified builder | Load paths, permits, safety |
Permit and licensing rules vary by location, so check local requirements before starting.
How to Hire and Vet a Contractor
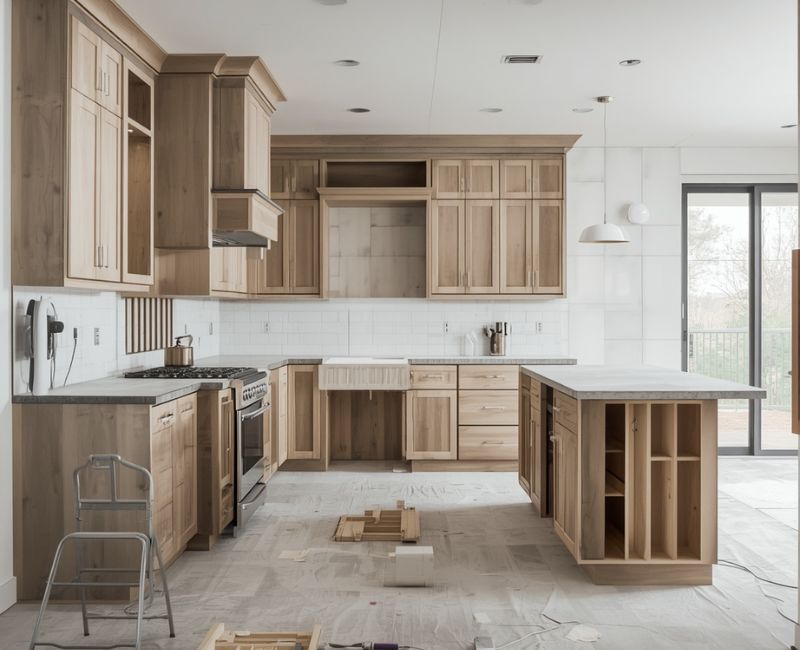
Hiring on price alone is a frequent cause of trouble. Look for:
- Relevant experience: similar projects, ideally with photos and a visit to finished work.
- References: call two or three recent clients about communication, cleanliness, and how problems were handled.
- Written estimates: collect at least three, itemized against the same scope so they are comparable.
- Scope of work: materials, brands, exclusions, and who purchases what.
- Schedule and payments: start and finish dates, with payments tied to completed milestones rather than large upfront deposits.
- Permits and warranties: who obtains permits, and what is guaranteed in writing.
- Changes: every change documented and priced before work proceeds.
Take warning signs seriously: unusually low bids, pressure to sign quickly, cash-only demands, no written contract, missing insurance or licensing where required, and reluctance to provide references. Choosing well shapes a successful home transformation as much as any design decision.
Sequence the Work in a Logical Order
Order matters because later trades can damage earlier ones. A typical sequence:
- Planning, design, and permits
- Ordering long-lead items such as windows and cabinets
- Demolition and structural work
- Electrical, plumbing, and ventilation rough-in, with inspections
- Insulation, walls, and ceilings
- Flooring (before or after painting, depending on the product and trades)
- Cabinets and built-ins
- Painting
- Fixtures, hardware, and trim
- Furniture and décor
- Final inspection and punch list
Schedules shift because of material availability, hidden repairs, contractor scheduling, weather, or inspection timing. Build in a buffer, and tie final payment to completing the punch list. A schedule with slack is a mark of a successful home transformation.
Common Mistakes and Practical Fixes
- No clear scope: write a scope document before requesting quotes.
- Underestimating costs: rely on itemized quotes and keep a contingency.
- Choosing looks over durability: test samples and check care requirements.
- Changing plans repeatedly: finalize the design before construction, since late changes cost time and money.
- Ignoring storage and lighting: plan both at layout stage, when they are cheapest to include.
- Buying furniture before measuring: confirm dimensions against a scaled plan.
- Skipping inspections: schedule required inspections before walls close.
- Hiring on the lowest quote: compare scope and inclusions, not just the total.
- Spending everything early: protect the contingency and final-stage funds.
Finishing Touches: Comfort and Future-Ready Details
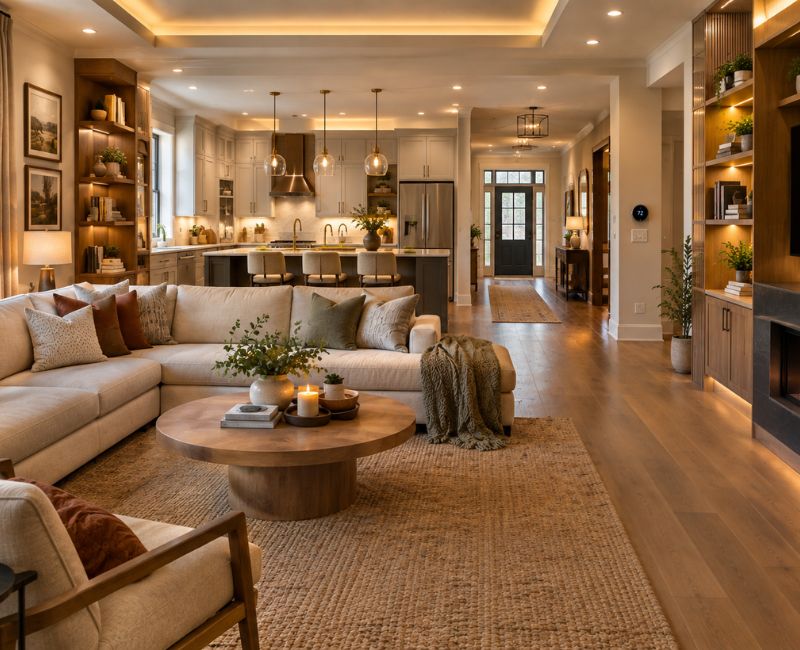
Flexible rooms, such as a guest room that doubles as an office, adapt as needs change. Built-in storage and vertical shelving reduce clutter. LED lighting with dimmers and sensors improves efficiency and mood. Smart features make sense where they solve a real problem, such as programmable thermostats, leak sensors, or smart locks, but confirm that wiring and Wi-Fi coverage can support them.
Choose easy-maintenance surfaces like wipeable paint in busy areas and fewer grout lines in wet spaces. Keep manuals, warranties, and paint codes in one folder. Do not assume these upgrades raise resale value; their reliable benefit is everyday comfort, and that is what makes a successful home transformation worthwhile.
Frequently Asked Questions
1. DIY vs. Hiring Out: Which Home Projects Should You Do Yourself?
Choose DIY for low-risk, reversible jobs such as painting, simple flooring, or hanging shelves, where mistakes are cheap to fix. Hire professionals for electrical circuits, gas, plumbing supply and drains, structural changes, and anything requiring permits or inspections. Also weigh your tools, available time, and whether a failure could cause safety issues or water damage. If you cannot explain how you would fix a mistake, hire someone.
2. Red Flags When Hiring a Contractor: What to Watch For
Be wary of vague estimates without itemized costs, no written contract, pressure to sign quickly, large upfront or cash-only payment demands, and no verifiable references. Slow or evasive communication, reluctance to define the scope or document changes, and suggestions to skip permits are also warning signs. One issue deserves a question; several together are reason to walk away.
3. Is $100,000 Enough to Renovate Your House?
It depends. Location, local labor costs, house size, project scope, material grade, and structural or systems work all matter. In a lower-cost area, $100,000 might cover a substantial partial renovation of a smaller home, while in an expensive market it may cover only a kitchen and a bathroom or two. A comprehensive renovation with new wiring, plumbing, and structural changes needs itemized quotes for your specific scope, plus a contingency.
4. Should I Renovate Room by Room or All at Once?
Both approaches work. Doing everything at once suits whole-house systems work, since trades are coordinated and disruption is shorter, though it demands more cash upfront and possibly temporary relocation. Room-by-room eases cash flow, but plan the whole house first so electrical, plumbing, and style choices in early rooms do not conflict with later ones.
5. How Can I Live in the House During a Renovation?
Set up a temporary kitchen if the kitchen is affected, seal work zones with dust barriers, protect floors, and agree on working hours and daily cleanup with your contractor. For extensive work involving water shut-offs, heavy dust, or hazardous materials in older homes, staying elsewhere may be more practical and safer.
6. How Long Does a Home Renovation Usually Take?
There is no standard. A single room may take weeks, while a whole-house project can take many months, depending on scope, permits, material lead times, and contractor availability. Ask for a written schedule with milestones, and add extra time for hidden repairs.
Conclusion
The strongest renovations follow a clear order: define what must change, inspect what you already have, set a budget with a real reserve, and rank projects by urgency before choosing finishes. Design decisions should then serve daily routines, with materials selected for performance rather than showroom appeal. That discipline is the heart of a successful home transformation.
Execution deserves the same care: honest DIY limits, well-vetted contractors, written scopes, and a schedule with slack. Before spending anything, write your project brief, list your needs, and gather itemized quotes. Those steps will protect your budget and your patience more than any single design choice.

Welcome to Cozy Escape Hub! I am Muhammad Hassaan, an AI Powered SEO and content writer with a 2 years of experience.
I help websites rank higher, grow traffic , and look amazing. My goal is to make SEO and web design simple and effective for everyone. Let’s achieve more together!