
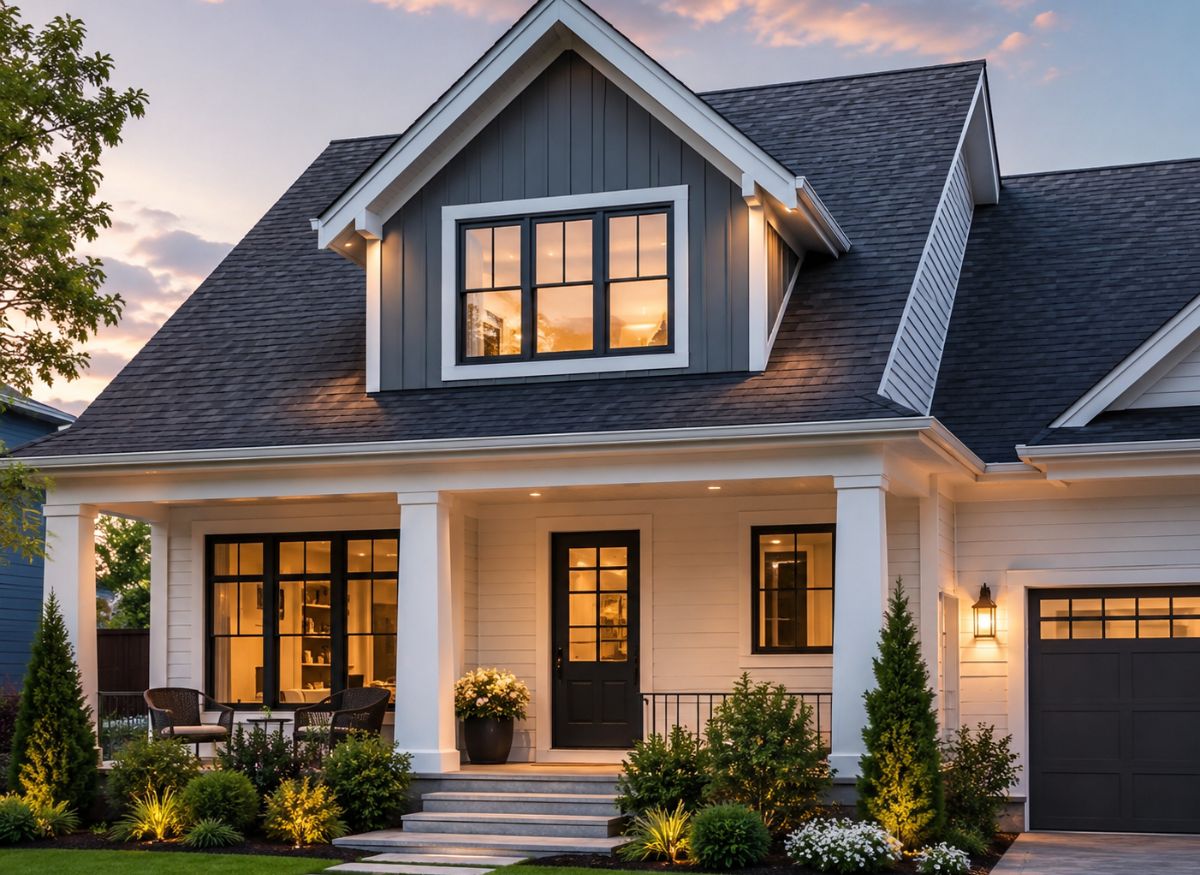
A gable dormer is a smart way to add more space, natural light, and curb appeal to your home. If you enjoy exploring unique home designs and creative architecture, don’t miss our Grain Bin House Ideas guide for more innovative housing inspiration. Whether you’re renovating an attic or upgrading your roof, understanding How to Build a Gable Dormer Step by Step helps you plan the project with confidence. This guide covers the essential steps, materials, and expert tips you need to build a durable and attractive gable dormer.
Building a gable dormer takes careful planning and attention to detail, but the results are worth the effort. With the right approach, you can create a bright, functional space that improves both your home’s appearance and its long-term value. This step-by-step guide will help you understand the process and avoid common mistakes along the way.
What Is a Gable Dormer?
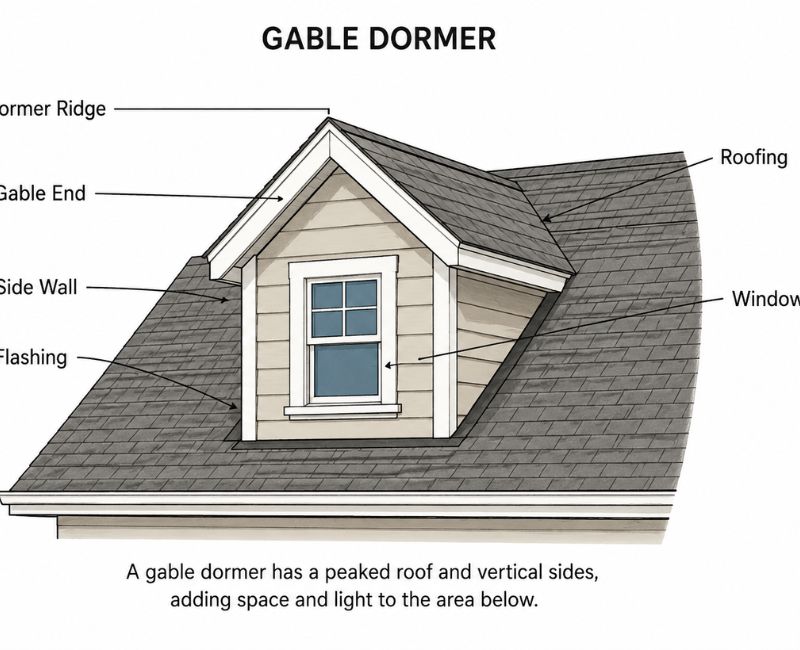
A gable dormer is a small roof structure that extends outward from a sloped roof. It features two roof planes that meet at a peak, creating the classic triangular shape many people recognize.
Unlike flat or shed dormers, a gable dormer blends naturally with traditional home designs. It adds architectural character while making upper-level rooms feel larger and brighter.
Most gable dormers include a vertical window that allows sunlight and fresh air into the attic or second floor. This makes them a practical choice for homeowners who want to convert unused attic space into a bedroom, office, or reading area. Want to learn more about different gable dormer styles and their advantages? Check out our Gable Dormer Guide for a complete overview.
Why Homeowners Choose Gable Dormers
There are several reasons why gable dormers remain one of the most popular roof additions.
They increase natural light, improve ventilation, create additional headroom, and enhance the home’s exterior appearance. Their timeless design also complements many architectural styles, from cottages to modern farmhouses.
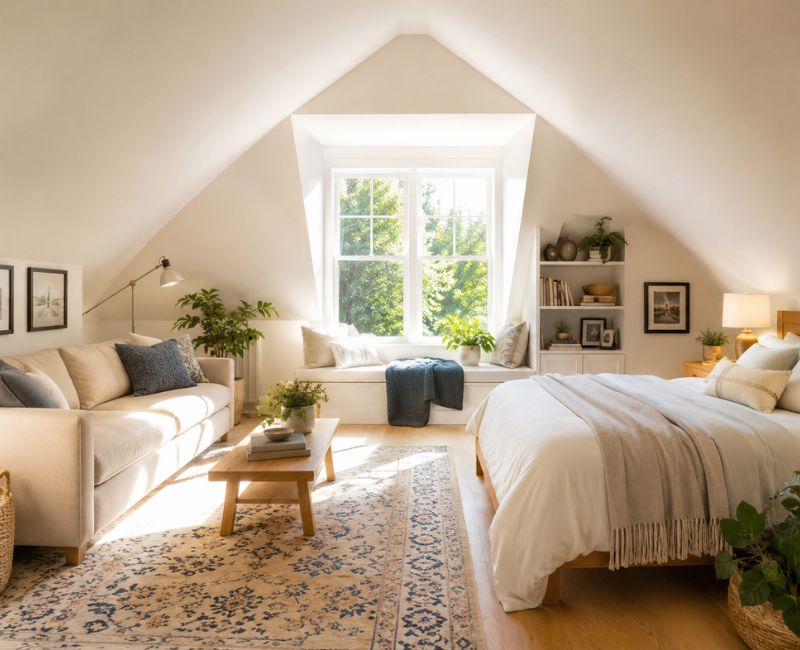
For example, imagine an unfinished attic with low ceilings and very little daylight. After adding a gable dormer, that same space can become a bright guest bedroom with enough standing room and a beautiful outdoor view.
Benefits of Building a Gable Dormer
Before starting construction, it’s important to understand what makes this home improvement project worthwhile.
More Living Space
One of the biggest advantages is the extra usable floor area. Since the dormer extends beyond the roofline, it creates additional headroom where the roof would normally slope downward.
This extra space can be used for a bedroom, study, playroom, or home office.
Better Natural Lighting
Attics often feel dark because roof slopes leave little room for windows.
Installing a dormer window allows sunlight to enter throughout the day, making the room feel larger, warmer, and more welcoming.
Improved Ventilation
Fresh air plays a major role in maintaining a comfortable indoor environment.
A properly placed dormer window improves airflow and helps reduce heat buildup during summer months.
Increased Home Value
A professionally built dormer often adds resale value because buyers appreciate additional living space and attractive exterior features.
Although construction requires an investment, many homeowners recover part of the cost through increased property value.
Enhanced Curb Appeal
A well designed dormer creates visual balance and gives the home more character.
It breaks up large roof surfaces and adds architectural interest that makes the house stand out.
Planning Before Construction
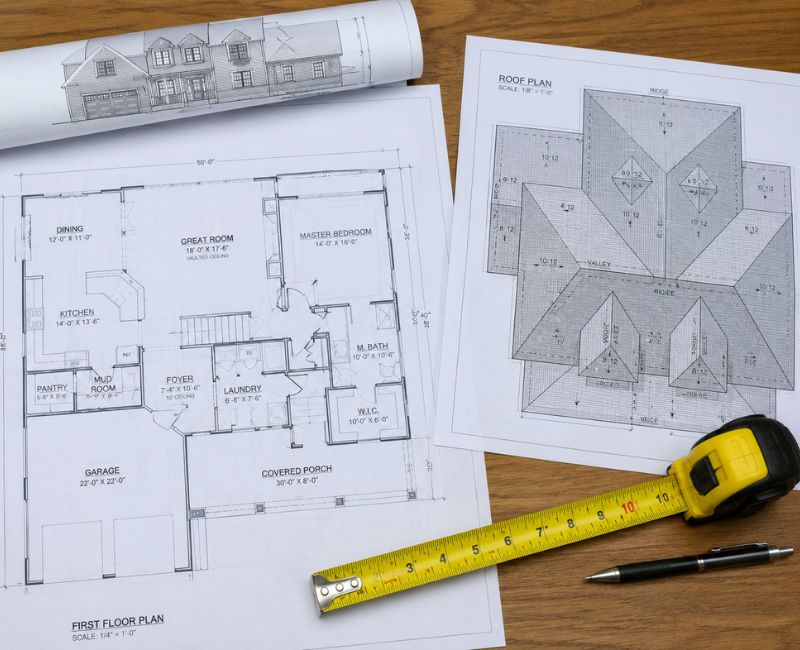
Good planning is one of the most important parts of How to Build a Gable Dormer Step by Step. Careful preparation helps avoid expensive mistakes later.
Check Local Building Codes
Every city has different building regulations.
Before beginning any work, contact your local building department to learn about permits, inspections, and structural requirements.
Skipping this step can lead to delays, fines, or costly modifications.
Inspect the Existing Roof
Not every roof is suitable for a dormer addition.
Check the condition of the shingles, rafters, decking, and structural framing before making changes.
Older roofs with damage may require repairs before construction begins.
Measure Carefully
Accurate measurements help ensure the dormer fits properly.
Measure:
- Roof pitch
- Roof width
- Attic height
- Available floor space
- Window dimensions
Even small measurement errors can create framing problems later.
Plan the Interior Layout
Think about how the new space will be used after construction.
For example:
- Home office
- Guest bedroom
- Reading nook
- Children’s room
- Hobby space
Planning early helps determine the best dormer size and window placement.
Essential Tools and Materials
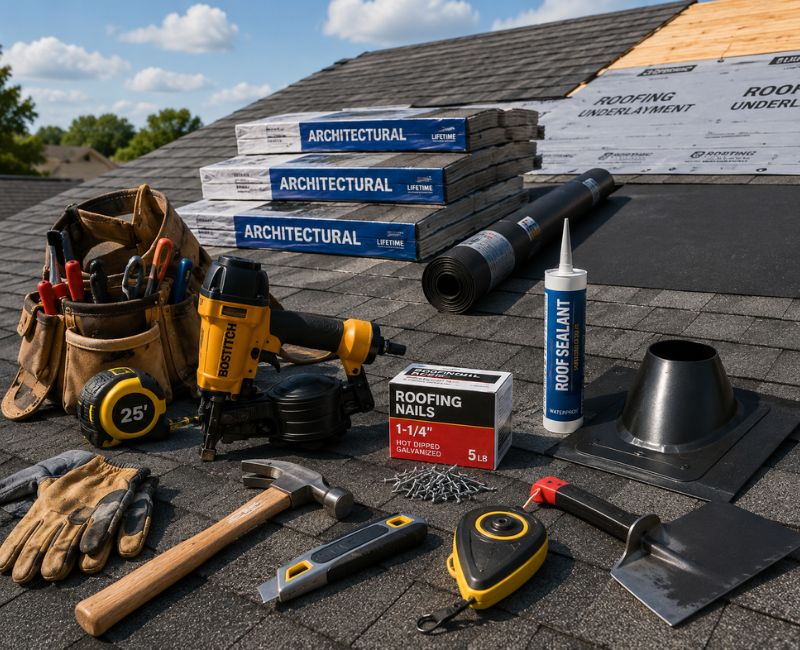
Having the right equipment makes the project safer and more efficient.
Basic Tools
- Tape measure
- Framing square
- Circular saw
- Hammer
- Nail gun
- Utility knife
- Chalk line
- Drill
- Level
- Pry bar
- Safety harness
- Ladder
Building Materials
- Lumber
- Roof sheathing
- Plywood
- Roofing shingles
- Flashing
- House wrap
- Insulation
- Windows
- Nails
- Screws
- Roofing felt
- Waterproof membrane
- Exterior siding
- Trim boards
Choosing quality materials helps improve durability and reduces future maintenance.
Understanding the Roof Structure
Before cutting into your roof, it’s important to understand how the existing framing supports the house.
Most residential roofs rely on rafters or engineered trusses that distribute weight evenly across the walls. Removing or altering structural members without proper support can weaken the roof and create serious safety risks.
When planning a dormer, identify the location of load-bearing components and determine how the new opening will affect them. In many cases, additional headers and support framing are needed to transfer roof loads safely.
If you’re unsure about the structural design, consult a qualified contractor or structural engineer before starting construction. Proper planning at this stage helps prevent costly repairs and ensures the dormer remains safe and durable for years to come.
Comparison Table: Gable Dormer vs. Shed Dormer
| Feature | Gable Dormer | Shed Dormer |
| Roof Shape | Triangular | Single slope |
| Appearance | Traditional | Modern |
| Natural Light | Excellent | Excellent |
| Construction Difficulty | Moderate | Moderate to High |
| Extra Headroom | Good | Excellent |
| Water Drainage | Very Good | Good |
| Best For | Traditional homes | Larger attic conversions |
| Curb Appeal | High | High |
Step 1: Design and Plan Your Gable Dormer
The first stage in How to Build a Gable Dormer Step by Step is creating a detailed plan. A clear design helps you estimate costs, order the right materials, and avoid unexpected changes during construction.
Choose a dormer size that matches your home’s proportions. An oversized dormer may look out of place, while one that is too small might not provide enough usable space. Sketch the design or work with an architect to create accurate drawings.
Consider the Roof Pitch
Your dormer should have a roof pitch that complements the existing roof. Matching the pitch creates a balanced appearance and improves water drainage.
If the roof angles differ significantly, rainwater may not flow properly, increasing the risk of leaks.
Choose the Best Window
The window is one of the dormer’s most noticeable features.
Look for windows that offer:
- Energy-efficient glass
- Weather-resistant frames
- Easy maintenance
- Good ventilation
- A style that matches your home’s exterior
Large windows bring in more daylight, making the room feel open and inviting.
Step 2: Obtain Permits and Prepare the Site
Most dormer projects require building permits before construction begins.
Contact your local building authority to learn about permit requirements, inspections, and zoning regulations. Following local rules helps ensure the project meets safety standards.
Next, prepare the work area.
This includes:
- Removing nearby outdoor furniture
- Protecting landscaping
- Setting up scaffolding
- Installing roof safety equipment
- Organizing tools and materials
A clean and organized workspace improves both safety and efficiency.
Step 3: Remove Roofing Materials
Once everything is ready, carefully remove the roofing materials where the dormer will be built.
Start by taking off shingles, underlayment, and roof decking only within the planned opening. Avoid removing more roofing than necessary, as unnecessary exposure increases the chance of weather damage.
Mark the opening with chalk lines before making any cuts.
Measure twice and cut once.
This simple habit helps prevent costly framing mistakes.
Safety Tip
Never work on a wet or icy roof.
Wear:
- Non-slip shoes
- Safety harness
- Protective gloves
- Safety glasses
- Hard hat when needed
Roof work always carries risks, so never sacrifice safety for speed.
Step 4: Frame the Dormer Opening
Framing is one of the most important stages of the project.
After removing the roof sheathing, reinforce the surrounding structure before cutting any rafters. Temporary supports may be needed to carry the roof load during construction.
Next, install headers where rafters have been removed. These headers transfer weight safely to the remaining structural members.
Proper framing creates a strong foundation for the new dormer.
Build the Side Walls
Construct the dormer’s side walls using straight, high quality lumber.
Each wall should be:
- Square
- Level
- Securely fastened
- Properly aligned
Take time to check measurements throughout the process. Small framing errors become larger problems later.
Step 5: Build the Gable Roof
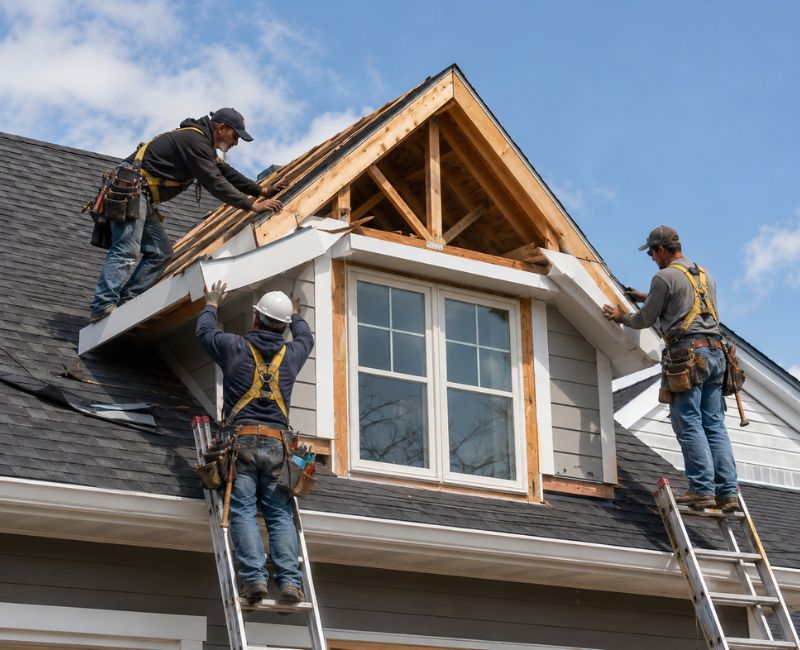
Now it’s time to create the dormer’s signature triangular roof.
Install the ridge board first, followed by the new rafters.
Each rafter should be cut accurately to ensure a tight fit.
Poorly cut rafters can create uneven roof lines and gaps that allow water to enter.
Once the rafters are in place, add roof sheathing to create a solid surface for the roofing materials.
Install Roofing Underlayment
Before shingles are installed, cover the sheathing with waterproof underlayment.
This layer provides extra protection against:
- Rain
- Snow
- Ice
- Wind driven moisture
Many professional builders also install an ice and water shield near roof valleys and edges for added durability.
Step 6: Install the Dormer Window
The window transforms the dormer from a roof extension into a bright living space.
Carefully place the window into the framed opening and check that it is level before fastening it permanently.
After installation, seal all edges with flashing and weatherproof tape.
Proper sealing helps prevent future water leaks.
Choose Energy Efficient Windows
Modern windows provide several benefits:
- Lower energy bills
- Better insulation
- Less outside noise
- Improved indoor comfort
- Reduced condensation
Although they cost more initially, they often save money over time.
Step 7: Finish the Exterior
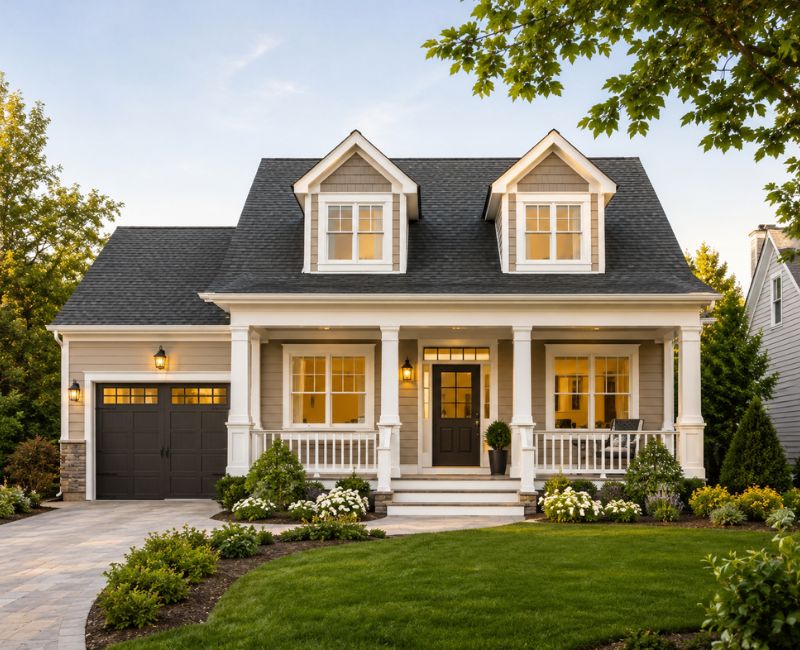
Once the roof and window are complete, finish the outside of the dormer.
Install:
- House wrap
- Exterior siding
- Trim boards
- Fascia
- Soffits
Choose materials that match the rest of your home’s exterior.
A consistent design makes the dormer appear as though it was part of the original construction.
Add Flashing Carefully
Flashing protects the joints where the dormer meets the main roof.
Common flashing locations include:
- Roof valleys
- Window edges
- Side walls
- Roof intersections
Improper flashing is one of the leading causes of roof leaks.
Take extra care during this stage.
Step 8: Insulate the Dormer
Insulation keeps the new room comfortable throughout the year.
Well insulated walls and ceilings help reduce heating and cooling costs while improving indoor comfort.
Popular insulation options include:
- Fiberglass batts
- Spray foam
- Rigid foam board
- Mineral wool
Choose the option that best fits your climate and budget.
Don’t Forget Ventilation
Good ventilation is just as important as insulation.
Without proper airflow, moisture can become trapped inside the roof, leading to:
- Mold growth
- Wood rot
- Reduced insulation performance
- Higher energy costs
Install roof vents or ridge vents as needed to maintain healthy airflow.
Step 9: Finish the Interior
Now the project starts looking like a real room.
Complete the interior by installing:
- Drywall
- Flooring
- Baseboards
- Ceiling finish
- Interior trim
After painting, the dormer blends naturally with the rest of the house.
This is also the perfect time to add lighting and electrical outlets if your renovation includes them.
Budget Friendly Ideas
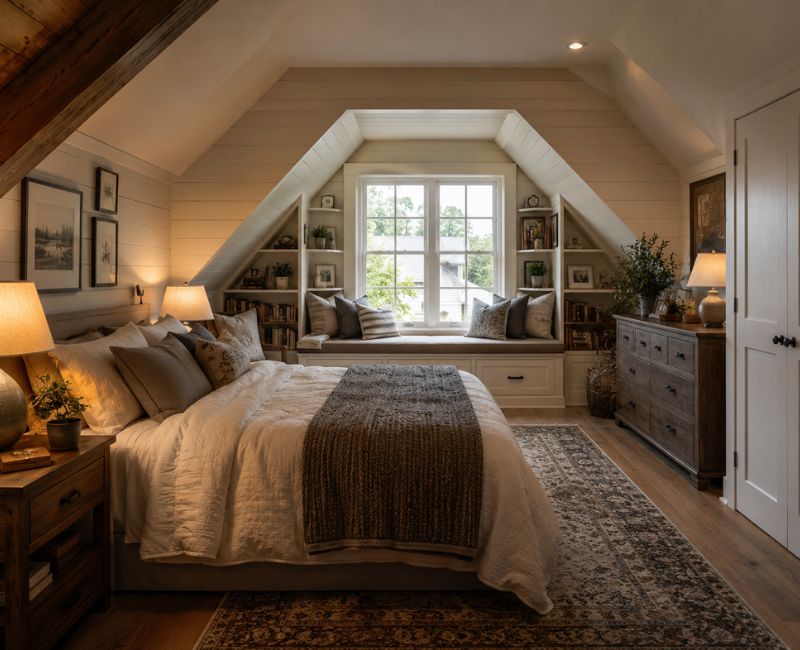
Building a dormer can be expensive, but there are ways to reduce costs without sacrificing quality.
Save Money by Planning Ahead
Ordering materials early often helps you find better prices and avoid delays.
Compare prices from several suppliers before making purchases.
Reuse Existing Materials
If some roofing materials are still in excellent condition, they may be reused where appropriate.
Always inspect reclaimed materials carefully before installation.
Complete Some Interior Work Yourself
If you have basic DIY skills, consider handling:
- Painting
- Trim installation
- Flooring
- Interior decorating
Leave structural framing and roofing to experienced professionals if you’re uncertain.
Common Mistakes to Avoid
Understanding common mistakes can save both time and money.
Skipping Building Permits
Ignoring permit requirements may result in legal issues or expensive corrections.
Always verify local regulations before construction begins.
Poor Measurements
Even a small measuring mistake can affect the entire project.
Double-check every dimension before cutting lumber.
Weak Waterproofing
Water damage is one of the most expensive home repairs.
Never rush flashing installation or waterproof sealing.
Using Cheap Materials
Low quality materials often wear out faster and require more maintenance.
Investing in durable products usually pays off over the long term.
Ignoring Structural Support
Cutting roof rafters without proper reinforcement can weaken the entire roof.
Always provide adequate support before modifying structural members.
Expert Tips for a Professional Finish
Experienced builders follow a few simple habits that make a big difference.
Keep Everything Square
Check every wall and frame with a level before securing it permanently.
Small adjustments early prevent major corrections later.
Match Existing Materials
Use roofing shingles, siding, and trim that closely match the original house.
This creates a seamless appearance.
Plan for Future Maintenance
Choose materials that require minimal upkeep.
Vinyl windows, durable flashing, and quality roofing products help reduce maintenance over time.
Work During Good Weather
Dry weather provides safer working conditions and better installation results.
Avoid beginning major roof work if rain is expected.
Styling Inspiration After Construction
After completing the structure, you can transform the new space into one of the most inviting rooms in your home. If you’re looking for decorating inspiration, explore our Retro Home Decor Ideas guide to create a stylish and nostalgic living space.
Popular ideas include:
- Cozy reading corner
- Bright home office
- Children’s bedroom
- Guest room
- Hobby studio
- Small indoor garden
- Window seating area
A comfortable chair beside the dormer window creates the perfect place to relax with a book while enjoying natural light.
Seasonal Decorating Ideas
Your finished dormer can look beautiful throughout the year with a few simple updates.
Spring
- Fresh flowers
- Light curtains
- Soft pastel cushions
Summer
- Woven baskets
- Cotton fabrics
- Indoor plants
Autumn
- Warm earth-tone blankets
- Wooden decorations
- Decorative pumpkins
Winter
- Chunky knit throws
- Cozy lighting
- Evergreen decorations
- Soft textured pillows
Small seasonal changes keep the room feeling fresh without requiring a complete redesign.
Frequently Asked Questions
1. How long does it take to build a gable dormer?
Most projects take one to three weeks, depending on the size, weather conditions, and whether professionals or DIY builders complete the work.
2. Does a gable dormer increase home value?
Yes. A well designed gable dormer often increases property value by adding usable living space, improving natural light, and enhancing curb appeal.
3. Do I need a permit to build a dormer?
In most areas, yes. Building permits are usually required because a dormer changes the roof structure. Always check local building regulations before starting.
4. What is the best roofing material for a dormer?
The best choice is typically roofing shingles that match your existing roof. Metal roofing and architectural shingles are also durable options, depending on your home’s design.
5. Can I build a gable dormer myself?
Experienced DIY homeowners may be able to handle parts of the project. However, structural framing and roofing should be completed by qualified professionals if you are unsure of your skills.
6. What is the average cost of building a gable dormer?
Costs vary based on location, size, and materials. A professionally built dormer can range from several thousand dollars to significantly more for larger or more complex projects.
7. What rooms work best with a dormer?
Dormers are commonly added to:
- Bedrooms
- Home offices
- Guest rooms
- Reading nooks
- Playrooms
- Hobby spaces
8. How do I prevent dormer roof leaks?
Use high-quality flashing, waterproof underlayment, proper roof ventilation, and professional installation techniques to reduce the risk of leaks.
Conclusion
Building a gable dormer is one of the most rewarding home improvement projects because it combines beauty with functionality. By following How to Build a Gable Dormer Step by Step, you can better understand each phase of the project from planning and framing to roofing, insulation, and interior finishing.
A thoughtfully designed dormer creates more usable living space, brings in natural light, and enhances your home’s overall appearance. Whether you’re renovating an attic, creating a cozy reading nook, or adding a home office, careful planning and quality craftsmanship will help ensure lasting results. Take your time, prioritize safety, and don’t hesitate to consult experienced professionals when structural work is involved.

Welcome to Cozy Escape Hub! I am Muhammad Hassaan, an AI Powered SEO and content writer with a 2 years of experience.
I help websites rank higher, grow traffic , and look amazing. My goal is to make SEO and web design simple and effective for everyone. Let’s achieve more together!